Employee Profile Data
Add Employees
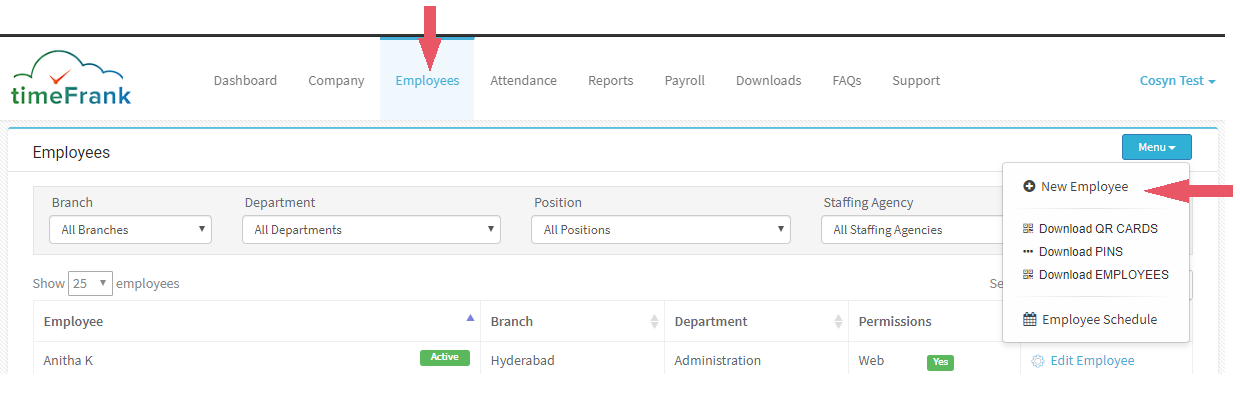
- To add employees to organization, navigate to Employees from the menu and select New Employee from Menu
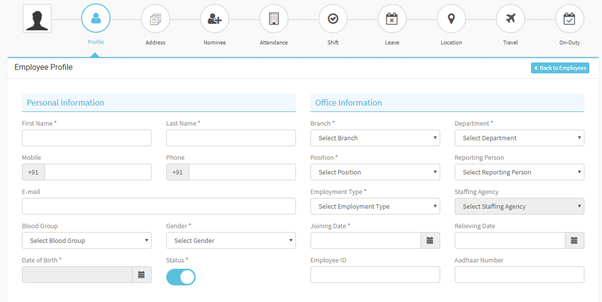
- Enter all required employee details like First Name, Last name, Mobile or E-mail, Branch, Department, Position
- When selecting a Contract Staff, you should compulsorily select Staff Agency and Relieving Date also
- First Name and Last Name accepts only Alphabets and Spaces only
- Mobile number should be of minimum 10 numbers and maximum of 15 numbers
- Date of Birth – if the age is less than 18 years, employee details are not saved
- If the Employment Type is Company Staff, then can’t select Staffing Agency, and Relieving Date is not mandatory
- If the selected Branch has Payroll enabled, it shows ‘Salary & Statutory Information’ and Bank Information for employee
- Enter all the required details and click ‘Save’
- It redirects to Employee list page and new employees are shown in the list
- While adding new employee details for first time you can just enter employee details on Employee Profile, all other tab values can be entered once profile details are saved.
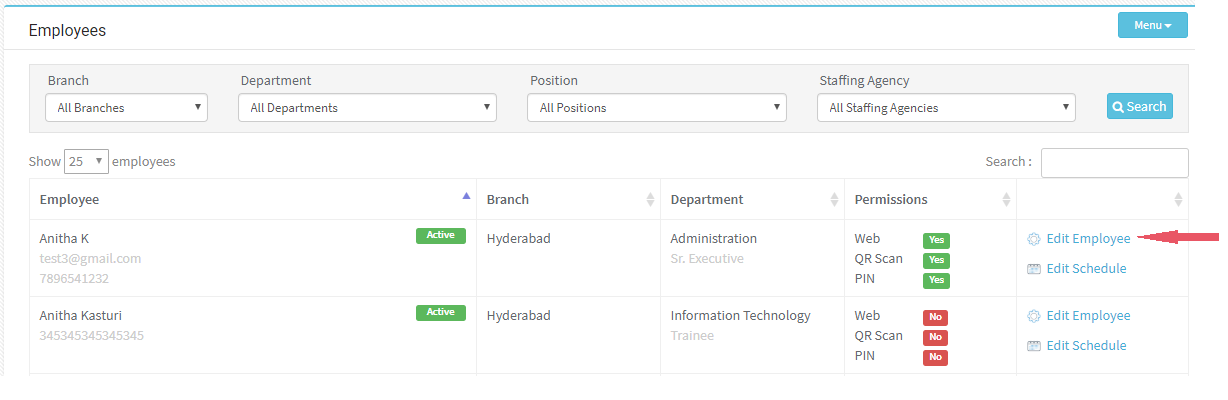
- Click on Edit Employee
- Can change the status of employee if s/he is no more active
- Salary & Statutory Information and Bank Information section will be displayed if the employee branch has Payroll enabled
- You have 2 different types of pay structures for employees – Standard and Personalized; Standard Pay structure is selected automatically
- Standard Pay Structure – it displays the details given for the branch automatically
- Personalized Pay Structure – this option allows to set the pay structure for this employee a different pay structure as per requirement. If this option is selected, make sure ‘% on Gross’ equals 100%
- Select EPF Required and ESI Required as per requirement and enter the details of ESI and EPF
- We have different Pay Types – Hourly, Daily and Salaried
- Payroll Interval option changes according to the Pay type selected.
- Payment Mode options are – ‘Online Transfer’, ‘Cheque’, ‘Cash’
- Employee has 3 types options for punch Permissions – Web, QR Scan, PIN
- If Web option is selected, then employee Email is compulsory
- If QR Scan, PIN is selected then timeFrank generates QR code and PIN Numbers; Organization can download QR Codes and PINs
- You can also manage whether employee is ‘Eligible for Leaves’ or not
Employee > Address
- You can enter employee address navigating to Employee Address tab
- You can have both Present and Permanent address for employee
- Enter the required information
- Check the check box ‘Present Address same as Permanent Address’ if both present and permanent address are same, then the address given in present address will be copied to permanent address
- Enter all required details click ‘Save’
Employee > Nominee
- You can store the nominee details of an employee
- Navigate to Employee > Nominee details tab
- Enter details like First Name, Last Name, Relationship and other details
- Nominee Aadhaar Number should be compulsory of 12 numbers.
- Select options Present, Permanent for address according to requirement then the address will be copied from Address tab3
- You can enter a different address also
- Enter all the details, click ‘Save’
Employee > Attendance
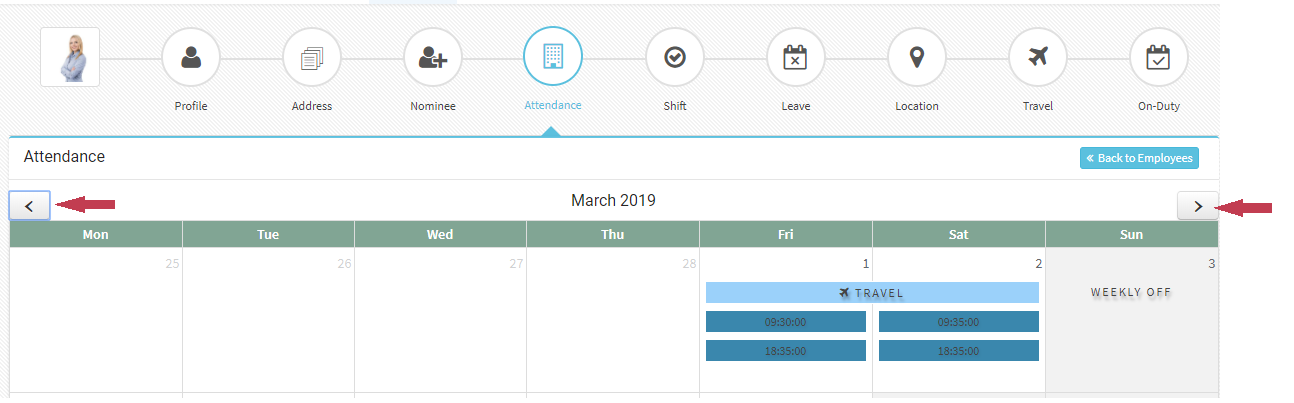
- You can view employee attendance details on Attendance tab
- Navigate to Employee > Attendance details tab
- Displays all punch details of employee and weekly offs, holidays accordingly
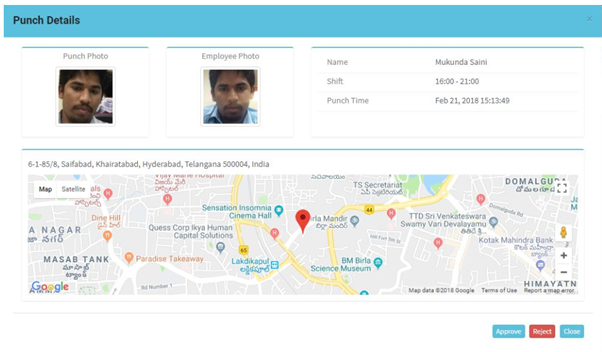
- Click on any punch details, displays the punch details with map
- Can Approve or Reject a punch
- Can move to other months using forward and backward arrows at the top