Attendance
Attendance
Click on “Attendance” on top menu
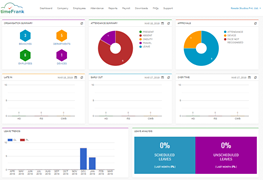
The “Attendance” page opens.
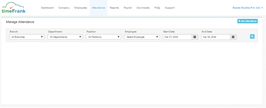
Now select an employee using the given filter options.
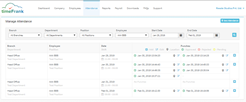
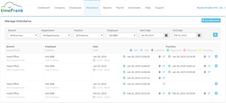
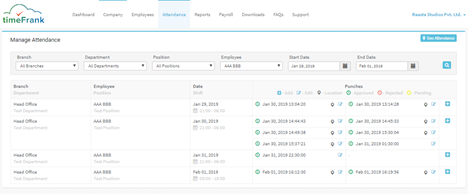
Now you can see the employee attendance details
The icon at the start of punch details defines the status of the punch, and attendance is marked accordingly,
- if it is green then the punch is approved
- if it is yellow then the punch is waiting for approval
- if it is red then that punch is rejected.
- If the punch status is pending or rejected then that will not be shown in attendance report as present for employee.
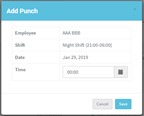
- You can add a missing punch by clicking on the “+” button on the right.()
 )
)
Now select the time from the ‘Add Punch’ popup window and click on “Save” button. The new punch will be added.
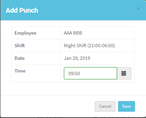
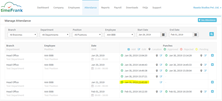
You can see the new punch added as shown below.
While manually adding the punch, we cannot add a location.
 )
)
 ), a new pop-up window will appear, where you can Edit the punch time.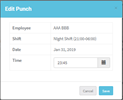
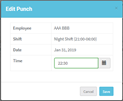
Once you have edited the punch time, click on “Save” button to save the changes made. The change will be reflected in the Punch timings on the Attendance page. If you click on “Cancel” the changes will not me made for the punch.
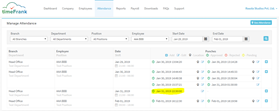
 )
)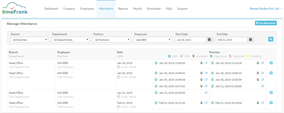
 ), a new pop-up window will appear, where you can View the location of the selected punch. Along with the location you can also view the Punch Photo, Registered Photo, Name, Punch time and Shift.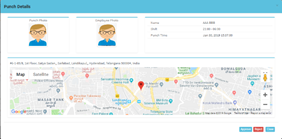
You can also “Approve” or “Reject” the punch from here.
Upon approving by clicking on the “Approve “button, the employee attendance will be marked, where as if you chose to reject the punch by clicking on the “Reject” button, the employee will be marked as absent.
If you only wish to view the Location, then once done, click on “Close” button to get back to the Attendance page.

Now, moving on to the Geo-Attendance:
 )
)
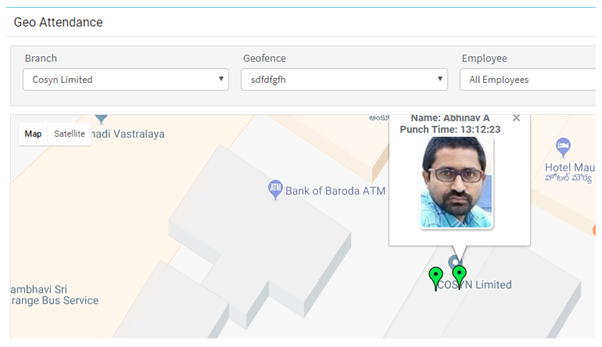
You will be redirected to a Geo Attendance page as shown below:
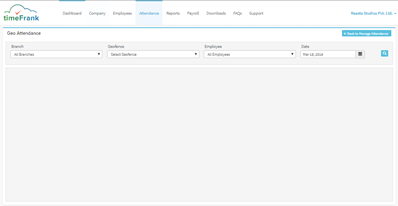
Now you can view the Geo-Attendance of an employee or a group of employees from a branch, assigned to a specific Geo-fence.
You get the punches of those employees who punch through mobile app from their mobile only. (Not Admin login)
Now select an employee using the given filter options

Upon selection of the desired filter, you will get the below screen:
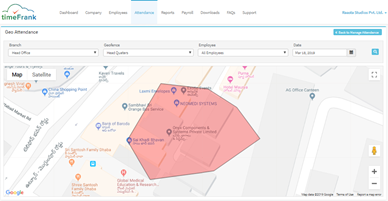
All the punches are displayed, hovering the mouse on to the punch will shown the details of the punch like Name and Punch Time.